
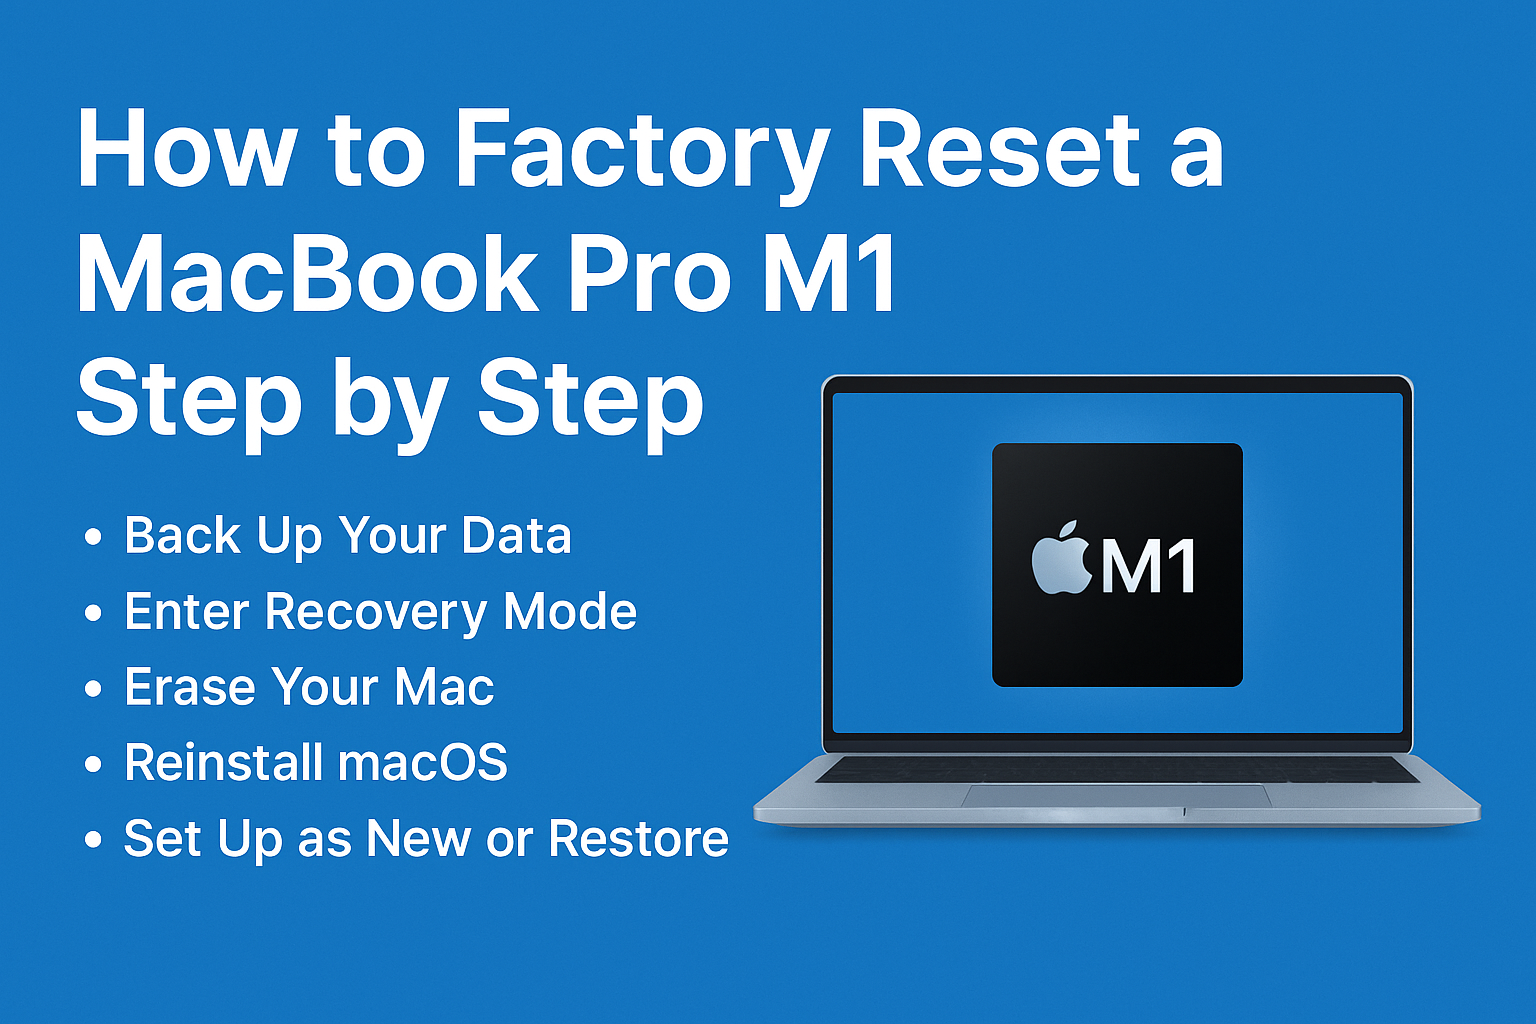
How to Factory Reset a MacBook Pro M1 Step by Step
Resetting your MacBook Pro M1 to factory settings can help you fix system errors, prepare the device for resale, or simply give it a fresh start. Since Apple’s M1 chip uses a different recovery process compared to Intel-based Macs, it’s important to follow the correct method. Here’s a clear step-by-step guide:
⸻
1. Back Up Your Data
Before erasing your Mac, make sure to save everything important.
• Use Time Machine with an external drive.
• Or sync files to iCloud Drive, Google Drive, or Dropbox.
⚠️ Once reset, all data will be permanently deleted.
⸻
2. Shut Down Your Mac
• Click the Apple menu → Shut Down.
• Wait until the screen goes completely black.
⸻
3. Enter Recovery Mode (M1 Macs)
Unlike Intel Macs, M1 devices use a new method:
1. Press and hold the power button until you see Loading startup options.
2. Select Options → Continue.
⸻
4. Erase Your Mac
Inside Recovery:
1. Open Disk Utility.
2. Select Macintosh HD (or your main drive).
3. Click Erase → choose APFS format → confirm.
4. Once complete, close Disk Utility.
⸻
5. Reinstall macOS
1. Back in Recovery, choose Reinstall macOS.
2. Follow the on-screen instructions.
3. Wait for macOS to download and install (this can take 30–60 minutes depending on your internet speed).
⸻
6. Set Up as New or Restore
After installation:
• You can set up your Mac as brand new,
• Or restore your files using Migration Assistant or Time Machine backup.
⸻
✅ That’s it! Your MacBook Pro M1 is now fully reset to factory settings.
This process ensures your Mac is clean, secure, and ready for new use.